

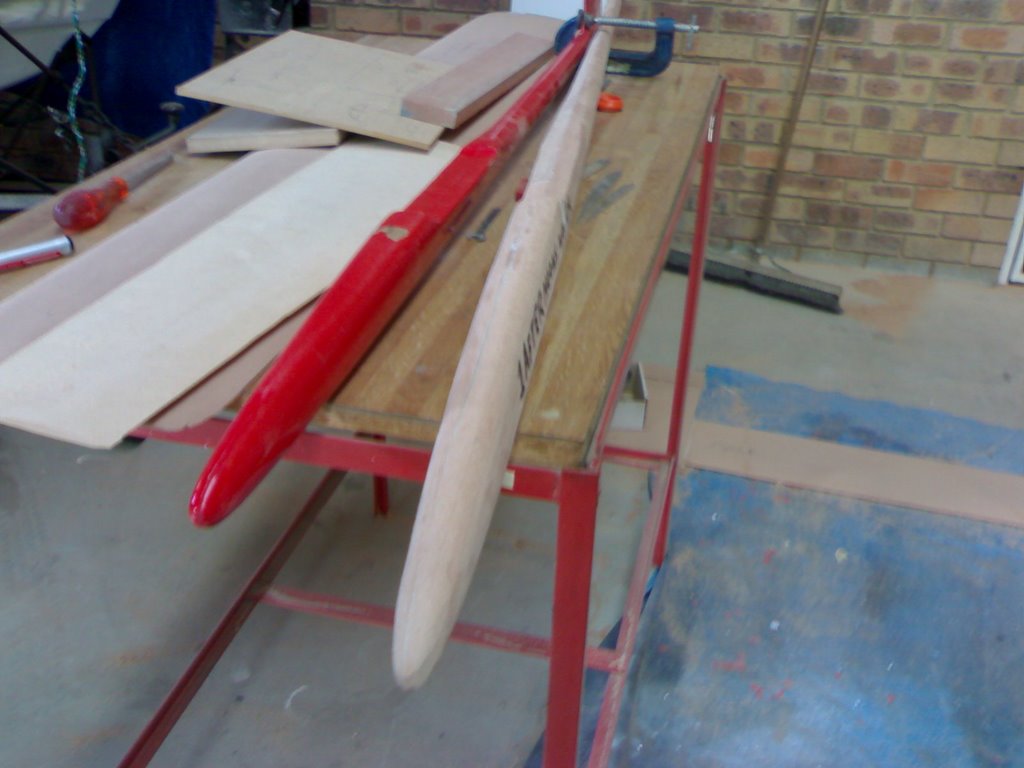
By now the two halfs are bonded together the differrent colour wood helps to work to the centre line. sand and plane a little at a time and check for high spots with a straight edge. An artistic flair also helps.
once the original marking lines are work of keep marking areas that need work with a felt marker.

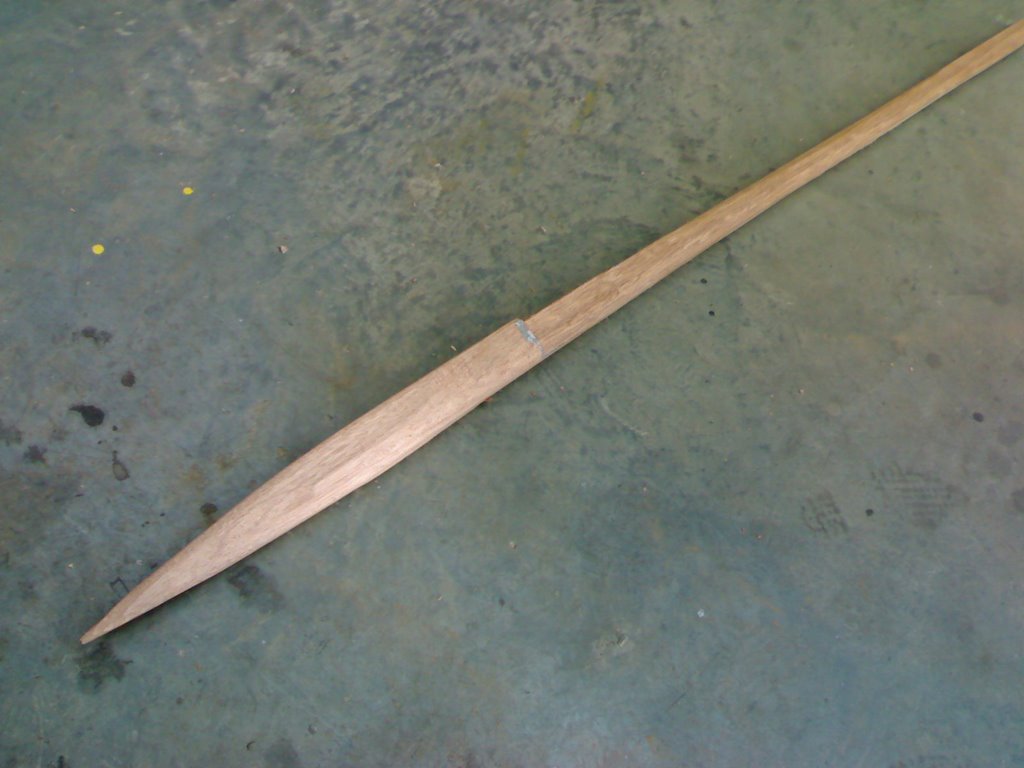
start sanding curves with a belt sander never a disc sander about 100 grit
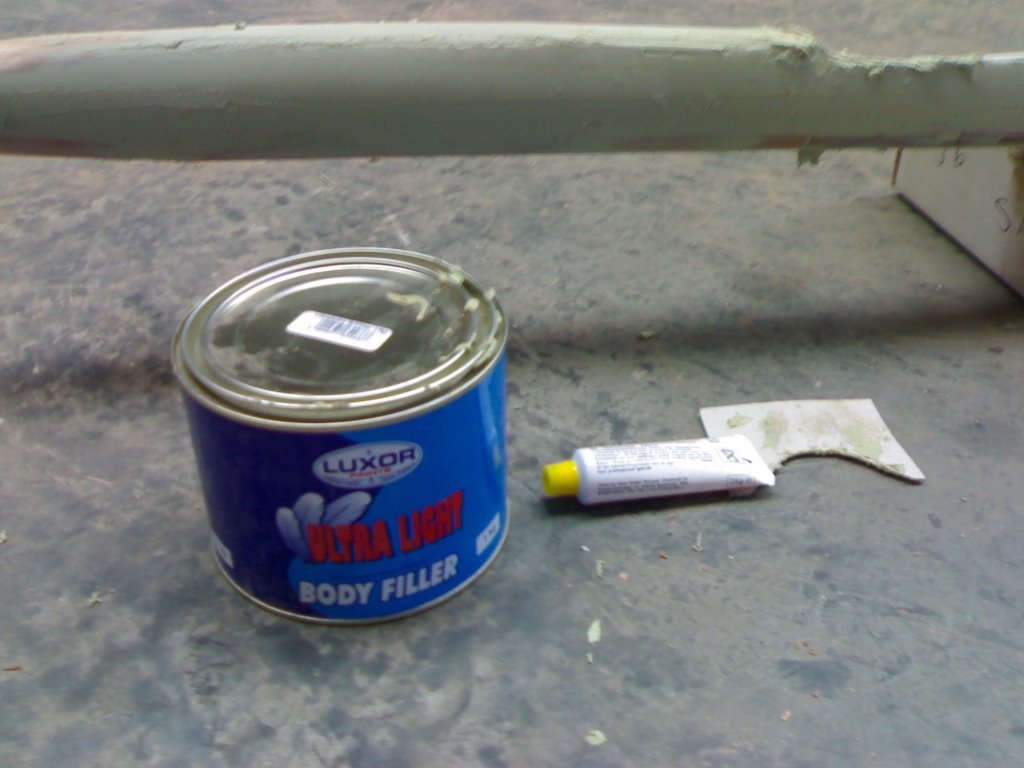
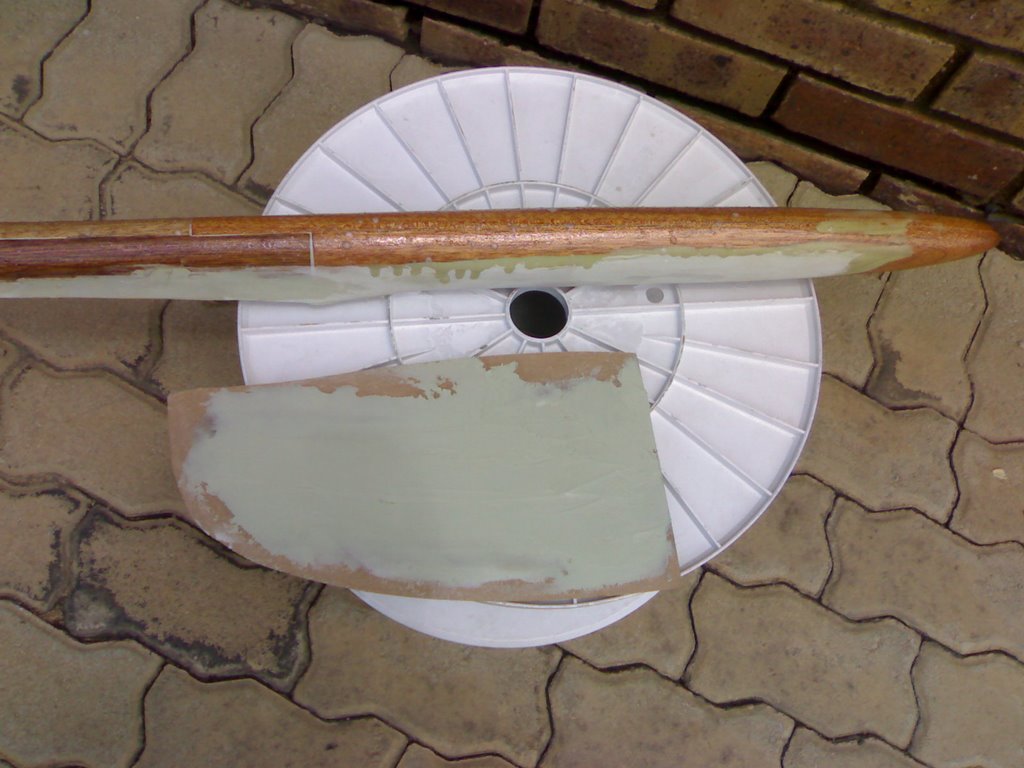
fill with feather light polyester body filler , tip mix about a table spoon at a time as it goes off within 5 minutes , smooth it on with a piece of card.
start roughing out superwood tailfin try use the redder type again plane and sand out rough use a template to fill.
next we will attach the tailfin.

No comments:
Post a Comment