Because this Blog is updated regularly it is a good idea to visit at least once a week so as not to miss anything. If however you are not a regular visitor, please use the archive links, at the bottom of the side bar on the right, to view postings that have moved off the main page. Or type a key word in the search block in the black bar at the top left and click on "SEARCH BLOG" and it will take you to the posting within our Blog. (For instance, type "Jart" and all the post that mention Jart will open) The Label at the bottom of a post can also be used. Click to get all posts with the same label together!
This BLOG is best viewed at a screen resolution of 1024x768. Click here to get instructions on how to adjust your monitor to these settings.


Monday, December 13, 2010

HS Buccaneer PSS Build (Part 3)


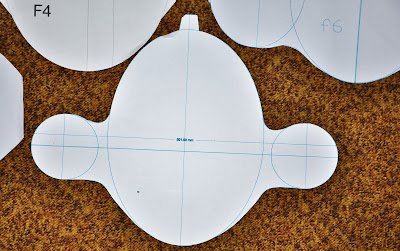
The 1/72 scale Airfix kit that I build in Part 1 and Part 2 provided me with a lot of information but did not include a much needed front view of the buccaneer. I had to revert back to a Google search to find a drawing that contained cross sections of the fuselage. With the aid of this drawing I then scaled the 13 formers to I/7th scale that I required. Six of the Formers (where the jet engines are situated) were too big to print on a normal A4 (unless you tile them) printer and I had them plotted by my brother on his A2 plotter.

After cutting them out and pasting it on thin Formica I will cut and shape those to the outlines of the plotted formers to make up templates for my hot wire foam cutter. Up to yesterday I managed to do 5 of the smaller formers with the bigger 8 still to be done.  Once all the formers are done I will order the foam and proceed cutting it, building up the fuse in sections as per Formers 1 to 13.


This technique differs somewhat from the top view /side view approach and may require more work but I think that I will end up with a more accurate / symmetrical fuselage especially more so because of the complex curves of the buccaneer’s fuselage.


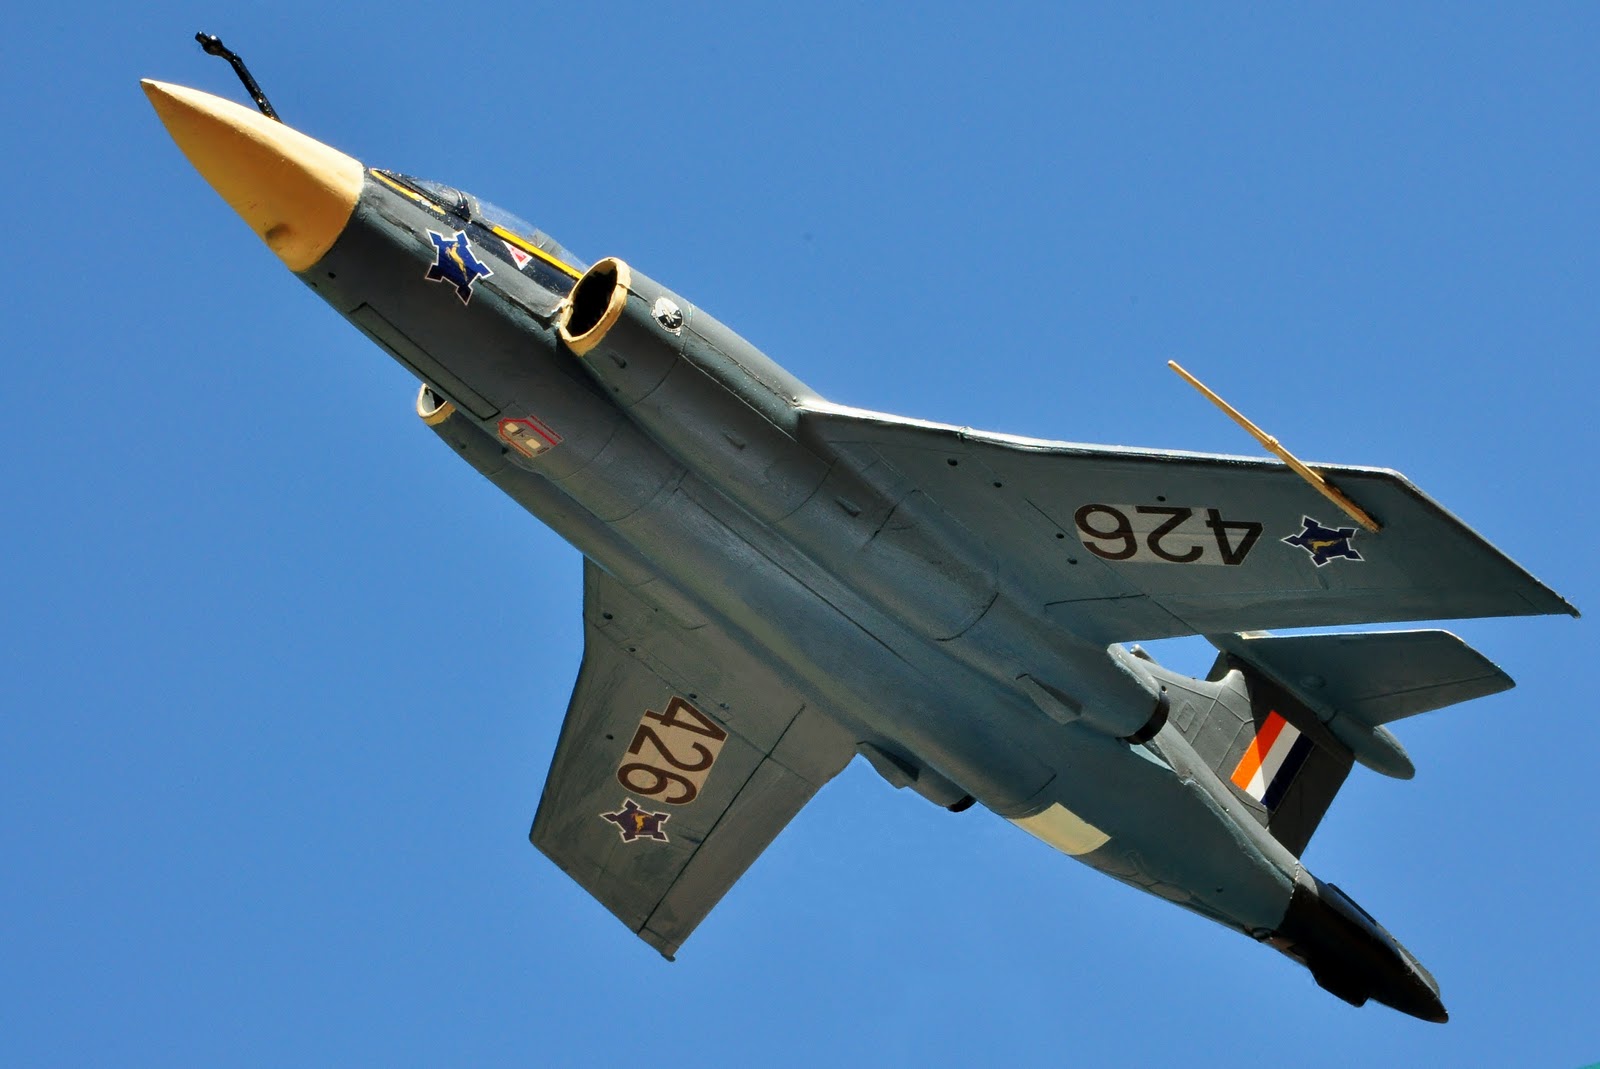
For now I am happy with progress and I am including some pictures of the build as up to this date.


I don’t know when I will make the next posting and therefore would like to this opportunity to whish all the BERG Blog readers a Merry Christmas and a happy new year (2011)-May all your landings be good ones.

Saturday, December 04, 2010

There is a Buccaneer in my front garden (PSS build Part 2)


Over the last 3 evenings I managed to finish the Buccaneer 1/72 scale model and I must say that this project is now starting to draw me in. I do not think that building the plastic kit was a bad idea as I have learned  a lot and now getting more and more excited about the project.


I did not have any major problems with the build, as many reports pointed out, and found that my fuselage top and bottom lined up ok, however the right hand saddle where the wing would slot in had a 1 mm lip but I shaved this off and had no further problems with the fit after that.

My biggest problem was in and around the cockpit area, but somehow just carried on no matter what went wrong. The biggest setback I had was when the fuel nozzle disappeared after I had glued in position. I did not wait for the glue/paint to dry properly and carried on working and when I turned the model over knocked it off. Later on I realised that the nozzle was gone and started a massive search that lasted for at least a half-hour before it finely found it - stuck to my left outside forearm. The buccaneer won’t be Buccaneer without this all important feature and if I did not find would not know how to manufacture a small part like this, but in the end everything worked out I am happy with the result.


The only things that I have done extra were to make a stand to mount the Buccaneer on because I wanted to see how the Buccaneer would look like in full flight. Of the 144 pieces that came with the kit there must be about 60% or more left (fuel tank and bomb parts).


 I did not fit them on the wings as they would crowd the underside so much so that you would not see any part of the wing! Anyway I think it will take about the same time or more just to assemble and paint all the bombs that the Buccaneer could carry. I probably will assemble them, but for now I don’t want to lose the focus on the building the 1/7 scale PSS Buccaneer.


I don’t think that I will get much more done in terms of building this Des but I would like to get the plans drawn up so that I can start building in Jan 2011.


I posted some pictures that I found really inspiring to me as you can see with them you do not need to imagine how the Buccaneer would look like flying on Volksrust slope and I hope that you will enjoy as much as I did taking them.

Roll-on 2011!


Friday, December 03, 2010

Building the HS (Hawker Siddeley) Buccaneer S50 PSS Part 1


Well there you have it, a brave statement to make to start a build like this but this time round I decided not to rush this PSS project so rather that the 40 days build of the Aero Commander I have given myself at least 40 weeks or even more!

Not easy decision to make but I am sure it will be worth all the effort. So yesterday I bought an Airfix model Kit of the Buccaneer HS S50 1/72 scale (the same version that SAAF use to fly) and I was pleasantly surprised that kit included the SAAF livery and decals of the Air Force at the time (No 426), late 1960 to early 1990).

The main reason for acquiring the 1/72 kit was for the detail, 3 view drawings and other information that one can obtain from the kit, a luxury that I did not have at the time I build the Rockwell Aero Commander.

After studding the plastic kit and browsing the Internet it became clear to me that even the plastic kit itself was not an easy build! So I decided to build the kit even though that I am not a expert at building plastic model aircraft kit’s and so doing can get the feel for what I am letting myself into.

I have found at least one good build of this model so I will try and follow it closely and see how it works out.

The idea at this stage and similar to Aero Commander, is to scale the buccaneer to 1/7 of the original size making the scale wingspan just under 2 meter. I might also stretch wing somewhat as to improve the wing loading, although the 22 ounces per square foot of the Aero Commander work well I would not like to exceed this figure as a starting point.

Once again I will photograph and post the Build as I proceed with the work.

Here are some pictures to start with.