
Having spent hours preparing the plugs/forms it is now time to lay up our moulds . The first order of business it to wax the plug and polish it off ,several times. Next we cut out chipboard
to shape to act as a splitter board.
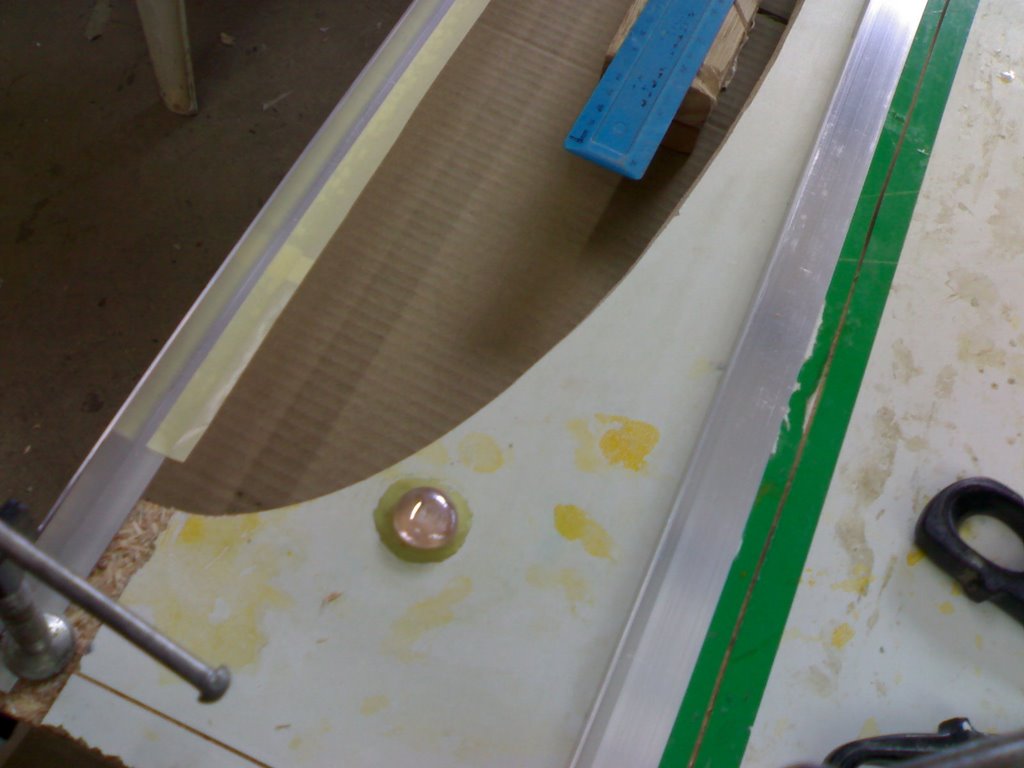
Now the tail is fitted and layed exactly in the middle of the leading edge on the splitter board, the gap is then filled and as the filler goes off/rubbery you carefully scrape it down flat with a wooden mixing stick. Note the marble inset into the board this helps with alignment of the moulds.

Clean up lightly with thinners, any residual filler and then rewax everything, buff up to a shine.I have built a border with aluminium channel , this makes the mould rigid and easy to lay up on later when we mould the actual tailplane. Next we paint the gel coat in with a soft brush, as thin and evenly as possible ,here you need to work with the spec sheets supplied with the product and lay the first light layers of glass cloth and resin at the right time, gel cure really speeds up on a hot day.
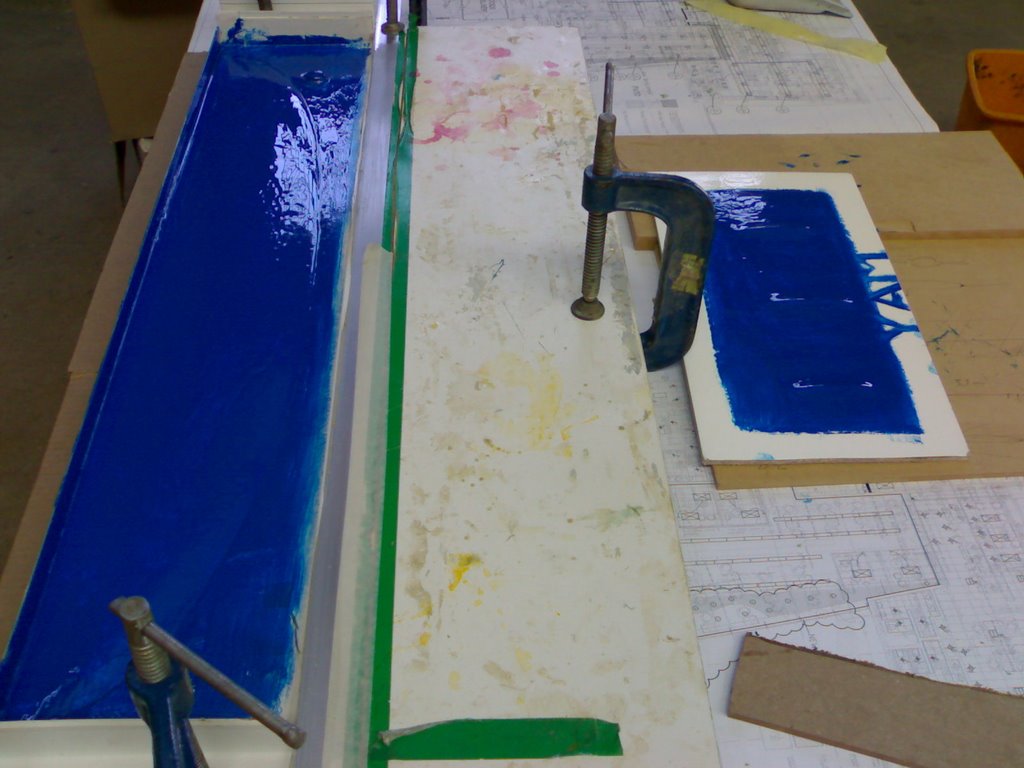
Next I lay up some carbon fibre tows(or some resin and flocks mixed to a paste) in all the sharp corners , this allows the fine cloth to radius
as it does not follow a 90 degree bend without making bubbles or air gaps. We now build up the layers of glass using thicker cloth to make the mould strong about 4 mm or more. This is now left for a few days ,before tuning over t
No comments:
Post a Comment